
Create a Zone
1. Log in to NicTool
2. Click on the Zones folder in the left NicTool frame. If you have sub-groups defined, first open the desired sub-group and then click on the Zones folder within that sub-group.
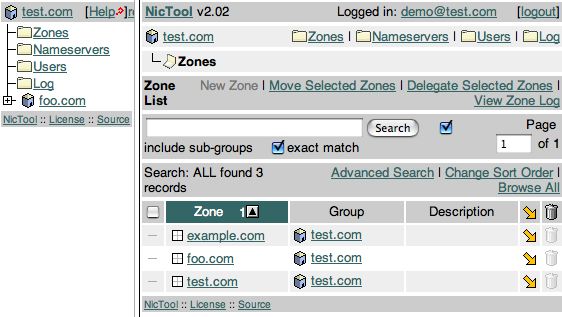
3. If you have permission, you'll be able to click "New Zone" and add your new zone. If not, you'll have to live in want or have a talk with your Systems Administrator.
4. Once you've clicked "New Zone", you'll be presented with the following screen:

Here you'll be able to enter the zone name and choose which nameservers it gets published to. You'll notice that there are 4 nameservers available here. Only one is in the current group (ns.somewhere.com) and the other three (*.cadillac.net) are inherited from a higher level group. Thus, we don't see them if we click on the Nameservers folder but we can publish to them. This is due to the wonderful delegated permissions model build into NicTool.
After entering the zone name and choosing the nameservers, click the MailAddr's "Default" button and it'll update to a more appropriate value. Then click "Create" and your zone is created.
5. Add some zone records.